Soda Firing: Part 1
Jenny Dowd
I've been building up a lot of pottery over the past year to get ready for soda firing. This is a process that Sam and I both really like, however, it's a lot of work with a crazy amount of steps so we don't do it very often. This time it's been over a year since we've fired this kiln, and we've built up enough work for 3 kiln loads!
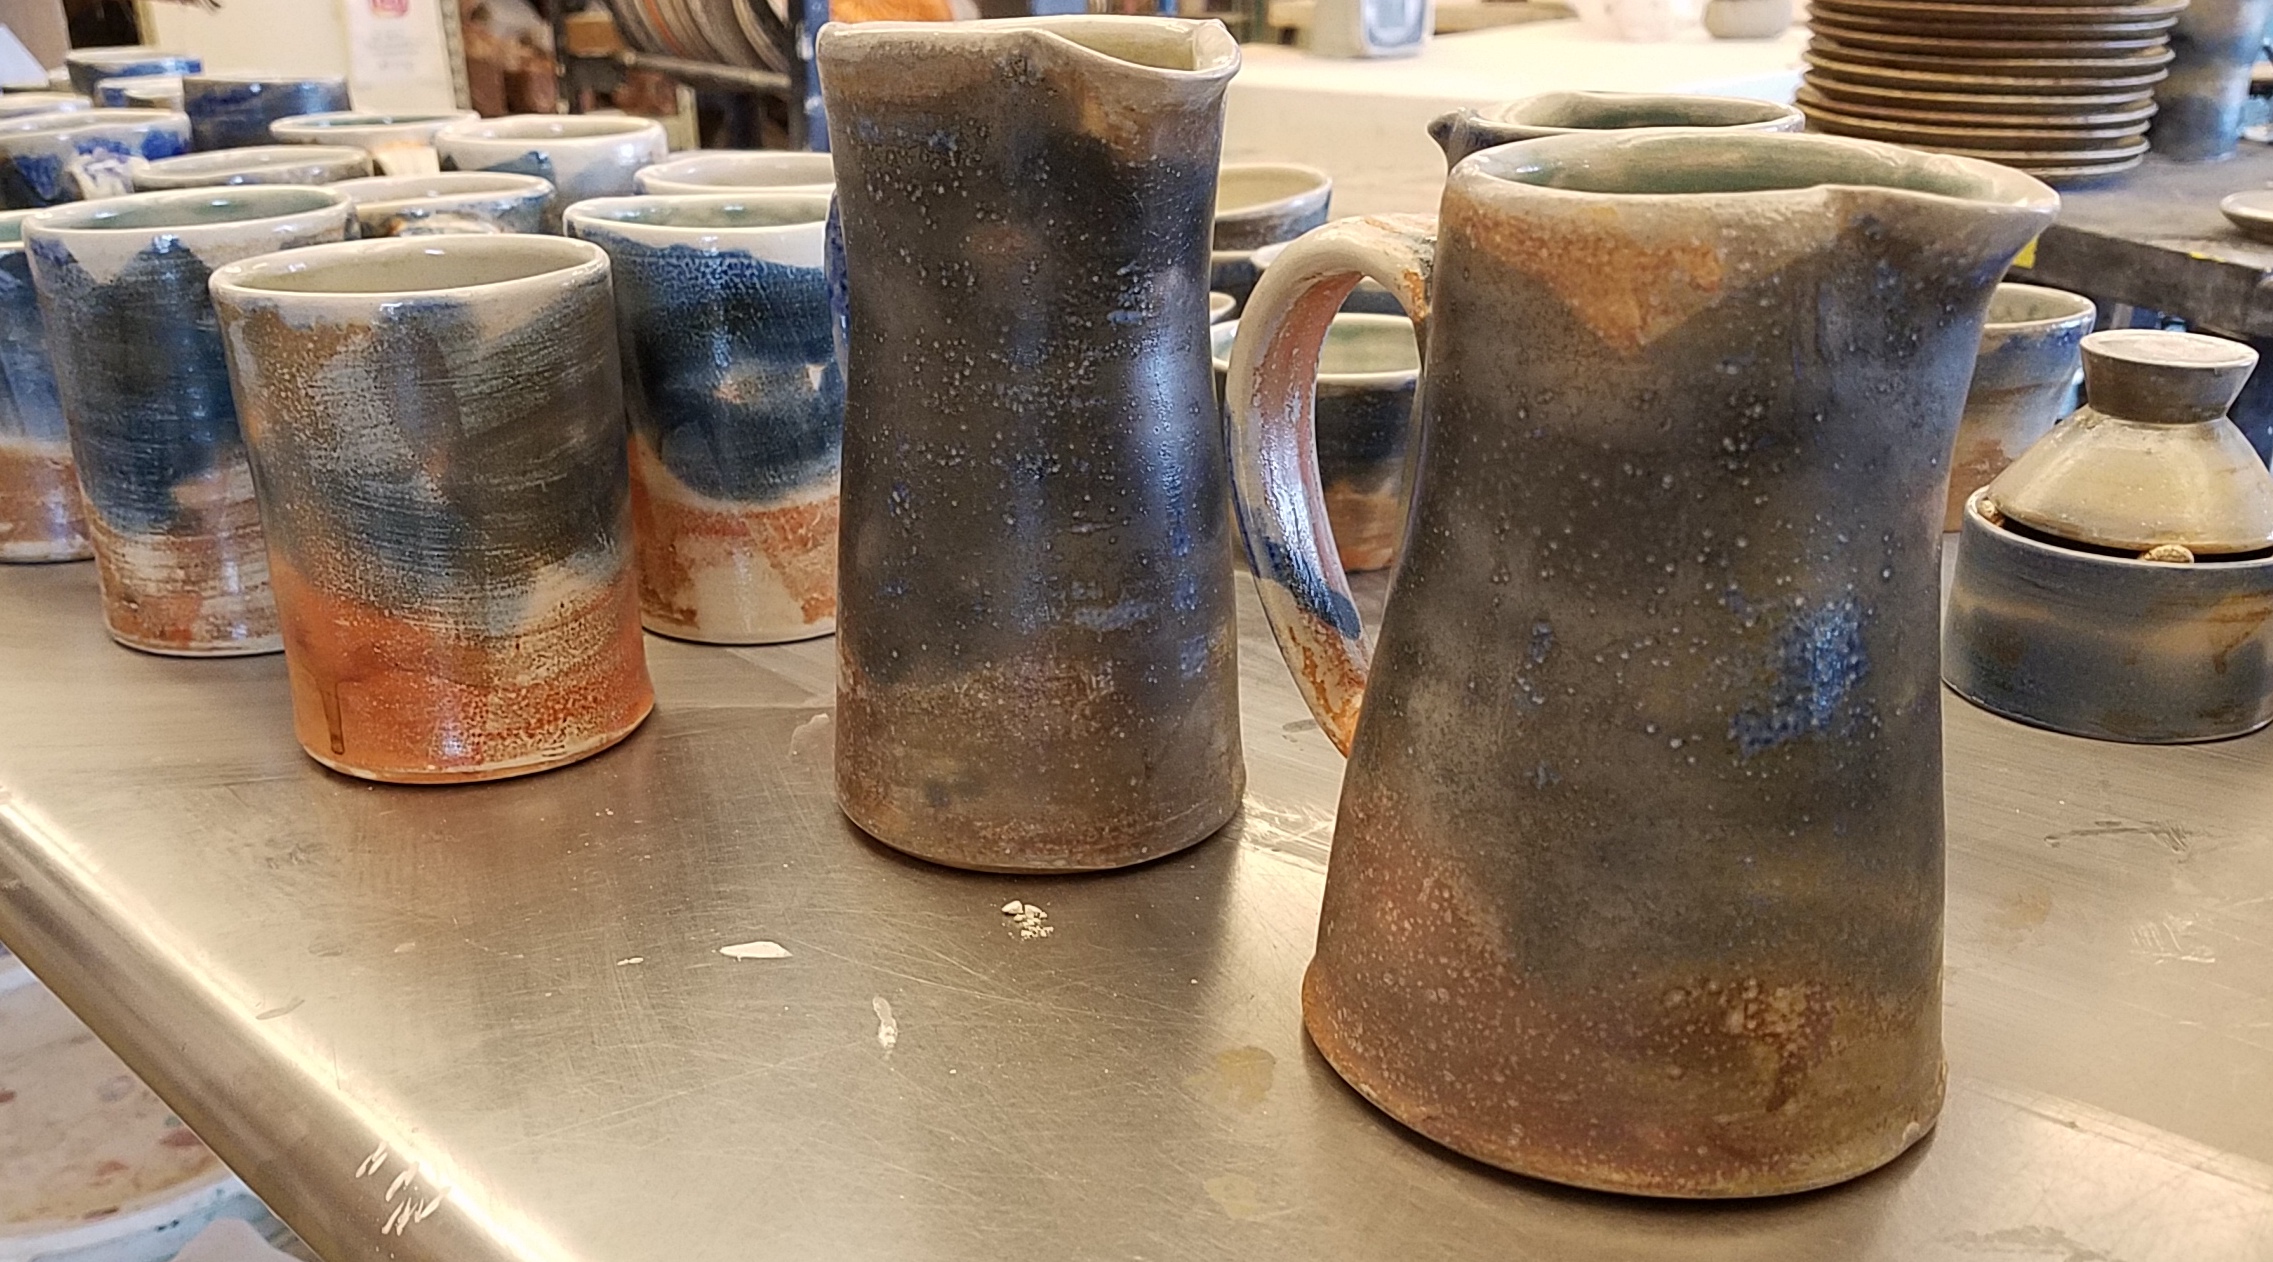
I use porcelain for a smooth white canvas and to ensure bright crisp colors. I start out by layering stains onto the bisque-ware; cobalt oxide (blues) and iron sulfate (browns and golds). These stains end up washy and atmospheric, I have an idea of how they will look but there is a large unknown element which I really appreciate.
After staining, I glaze the inside of the pieces. The soda firing process makes an overall glaze- near the end of the firing, soda ash and water is injected into the kiln. This glaze flies around and makes the final look even more unpredictable, the surfaces end up beautiful and juicy, sometimes lightly textured. Because of this process, wadding must be added to the bottom of the pots so they don't stick to the kiln shelves. (Adding the wadding is aways the point at which I am reminded how much work is ahead.) The wadding lifts the pieces up like little feet and can be knocked off after the firing.
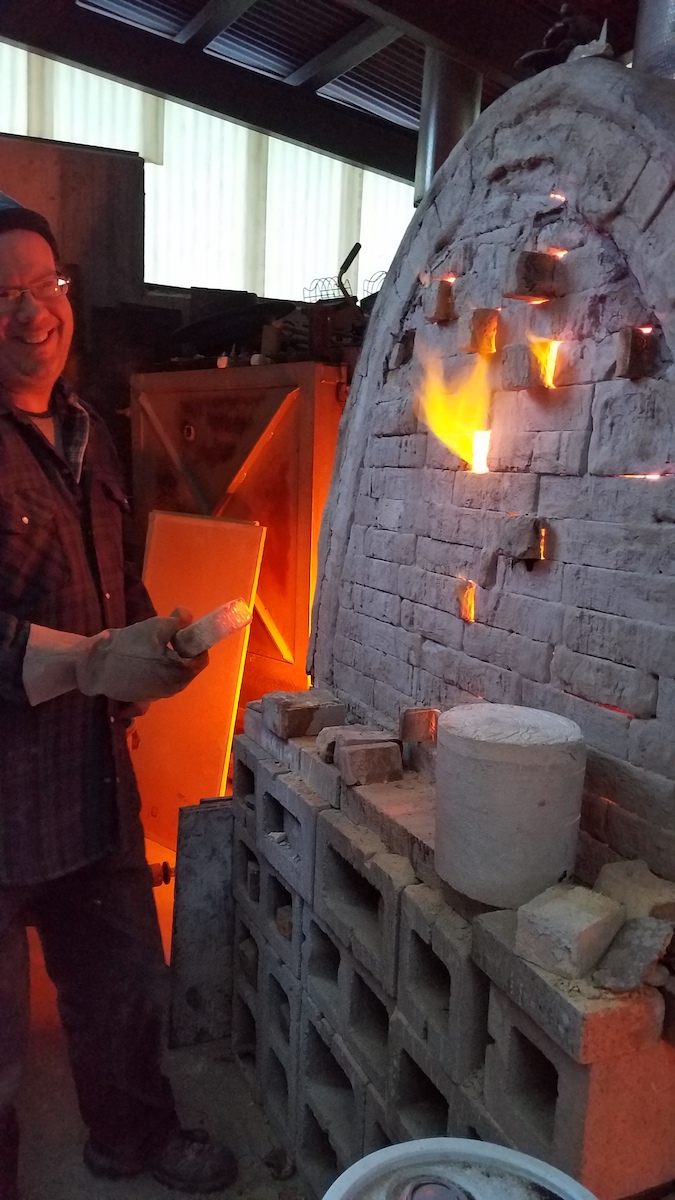
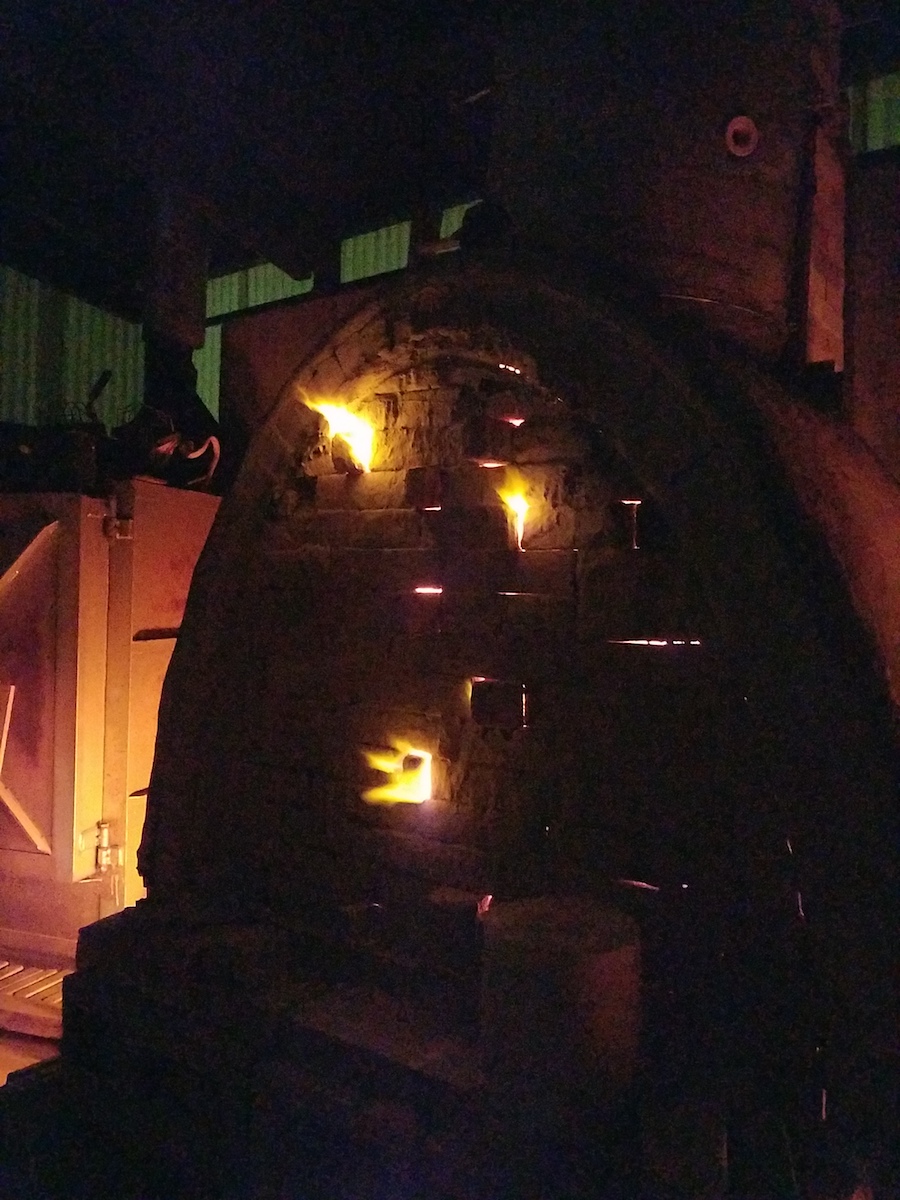
Sam is the one who does all the work firing the kiln, it's a long day but there's something energizing about a fiery kiln. The firing is about 14 hours and then the kiln cools for 2 - 3 days before we open it.
I'm never super excited about the results after the firing, but I see a lot of potential. The atmospheric quality of the blue and brown stains is exciting, it's a great layer for the next step... stay tuned, they aren't finished!


